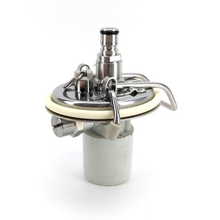
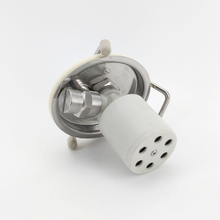
Description
Nothing is more refreshing than having your own soda water on tap at home. SodaStream units are great but filling up those tiny 1L bottles is a pain and those small CO2 cylinders run out fast and are expensive to swap. Solve this problem once and for all with the Continuous Soda Carbonator Keg Reactor Solution.
- Position the keg inside your fridge or kegerator (ideally below 38°F).
- Attach your beverage draft line to the soda water out post.
- Attach your gas line to the gas-in post.
- Set your CO2 regulator to 30-50 psi, depending on how highly carbonated you like your soda water. We highly recommend using a check valve on your CO2 line.
- On first use, purge the air from the headspace of the keg.
- Connect the water supply line to the water inlet post on the lid of the keg.
We recommend also using a check valve on your mains water line to prevent soda water from going back into your house mains. Depending on your mains water pressure, you may need to reduce it using an in-line regulator. For the Carbonator Keg Lid to work well, the mains water pressure should be 30-40 psi higher than your regulator set pressure (from Step 4).
That's it. This simple unit will give you continuous soda water connected to your main water supply.
For a video with directions check out the link below:
https://www.youtube.com/watch?v=XIEni6GuhQU&t=16s
Please note: if you are using a CO2 regulator that uses a corny-style PRV, you will need to swap out the standard Green PRV with the 0-100 Gray PRV so you can raise the pressure above 60 psi. Always check the pressure rating of your keg(s) before swapping the PRV.


